![]() This WEB page comes from the busTRACE 9.0 User's Manual. (Table of Contents)
This WEB page comes from the busTRACE 9.0 User's Manual. (Table of Contents)
|
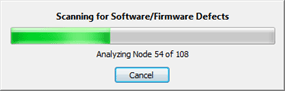
When you stop a busTRACE capture, or load a busTRACE capture file, busTRACE will automatically scan through all the captured I/Os looking for any I/O subsystem defects. These include software bugs and device firmware bugs. The process of scanning through the I/Os is very fast. A progress indicator will appear during the scan. You can abort the defect scan at any time by hitting the Cancel button.
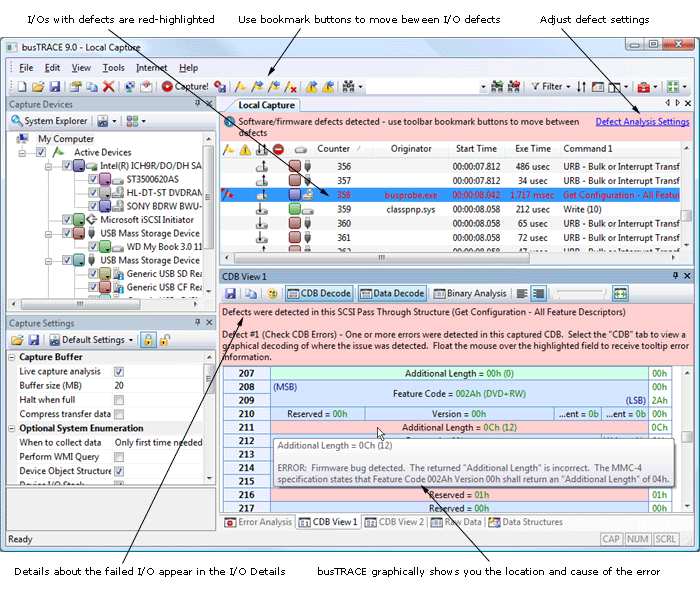
busTRACE performs a variety of defect checks on the captured I/O. You can enable/disable the checks you would like busTRACE to perform by selecting Options from the Tools main menu. Select the Defect Analysis options to enable or disable the defect checks you would like to perform. When any I/O defect is detected, busTRACE places a red error indicator at the top of the I/O Capture List. You can also click on the Defect Analysis Settings link to enable or disable specific defect checks. When you click on an I/O with a defect, details about the I/O appear in the I/O Details area.
Defects are automatically shown with a red bookmark (in the bookmark column). You can use the toolbar find next/previous bookmark buttons to move between I/O defects. See Also: |
|