This web page refers to our older busTRACE 7.0 which is no longer shipping. Click here for details on our latest generation busTRACE software.
![]() This WEB page comes from the busTRACE 7.0 User's Manual. (Table of Contents)
This WEB page comes from the busTRACE 7.0 User's Manual. (Table of Contents)
|
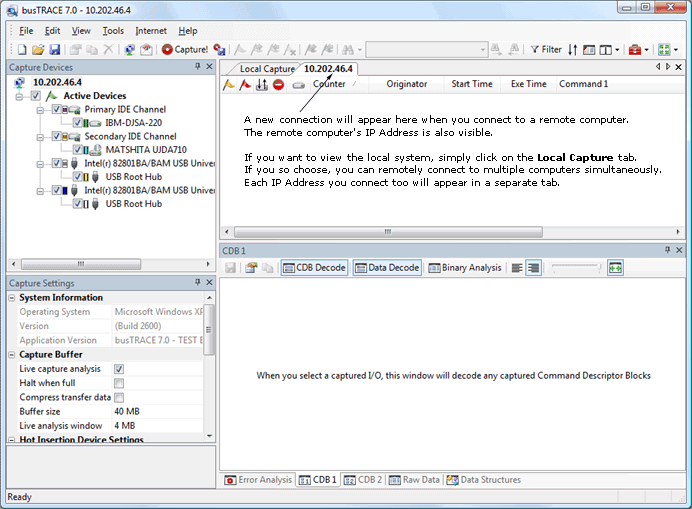
Once you have the remote server running on the target server, it is time to run busTRACE on the client system. The steps to capture I/O activity on a remote system are nearly identical to capturing I/O activity on your local system. You select the Capture I/O activity on this computer or a remote computer, from the busTRACE Start Menu, and then click on the Remote Connect
In the Remote Connection dialog box, you specify which computer you would like to connect too. The following fields are available.
The remote server's IP address may be similar to the client's IP address. It is for this reason that, when run for the first time, busTRACE will initially show you the client's IP Address. From there, you can make any adjustments to make sure you are using the remote computer's IP Address (i.e. the server). Once you're set, click on the OK button and busTRACE will remotely connect to the target server. All other busTRACE options and analysis features are the same whether you're doing a local capture or a remote capture.
See Also: |
|